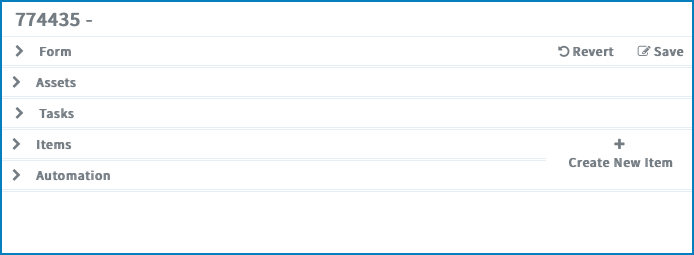
If you select a Job, the Job details are revealed on the right.
Depending on your Job workflows, the Job details includes multiple sections:MARS contains a MARS App called JOBS-Labels Starter Kit. This App contains
workflows that you can use to create your initial JOBS workflows for a label printer and
that result in a Job with the following sections in the Job details:
Form
If you have specified a form for the Job details, the Job details of the selected Job
are displayed on the right. You can specify this Job details form in Create Job > Form name for 'form edit'. Steps:
Create a form in your Job workflow with the Handle
Form node.
Add the form to the Create Job node in your Job
workflow: enter the input name of the form in the field Form name
for 'form edit'.
Assets
This section lists the assets and the assets folders in the Job.
You can use a contextual menu that you can use on a selected folder or file:
If you have selected a folder:
Upload file: to upload a file in the selected
folder. You can also drag and drop a file.
Rename folder: to rename the selected
folder.
Open folder: to open the folder.
Show in portal: to show the folder in the
Asset details.
Submit to workflow: to submit the folder to a
workflow.
If you have selected a file:
Copy to clipboard: to copy the file to your
clipboard.
Rename file: to rename the selected
file.
Remove file: to remove the selected
file.
Reveal file: to open the folder where the
file is located.
Show in portal: to show the file in the Asset details.
View in proofscope: to view the file in
PROOFSCOPE.
Submit to workflow: to submit the file to a
workflow.
Note: The workflow specified in JOBS > CONFIGURATION > Whitepapers > File handler controls how to handle the files that are added.
Tasks
This section lists the tasks in the Job. This can be for example a manual prepress
step represented by a workable stop in the Hold In Kiosk
node. You can add tasks to a Job with the Add Task to Job
node.
Depending on their states, tasks can be displayed in various colors:
Pending: light blue.
Started: light green.
Ready: dark green.
Done: dark blue.
Items
This section you can:
See an overview of the existing Items in the Job. Select the Item to reveal
the Item details on the right.
Create a new Item. To do so:
select Create New Item.
Enter the Item parameters.
Select Submit.
Automation
This section displays the automation flows behind the Job.